This guide will explains how to use the Process List in Plesk to kill any of the processes.
Let us follow the steps:
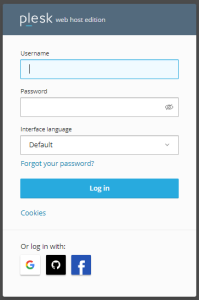
1. Log in to Plesk.
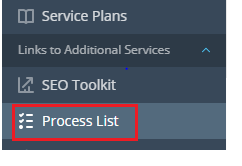
2. Select the “Link to Additional Services” option.

3. Click on the “Process List” sub-option.
4. You will enter a new interface and here you can find which Process consumes maximum resources.
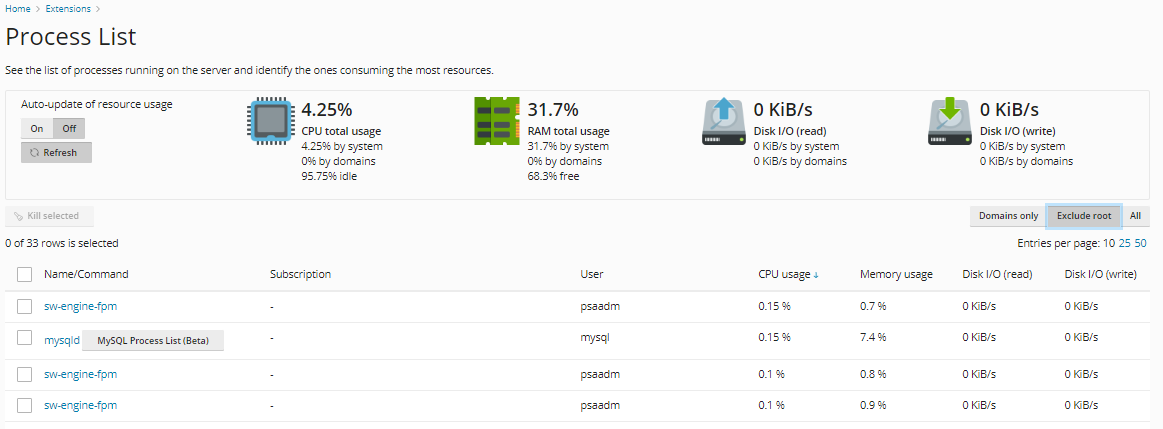
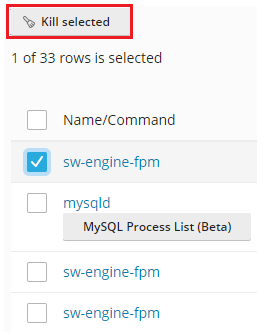
5. You can also kill the process by ticking the empty box in front of it.
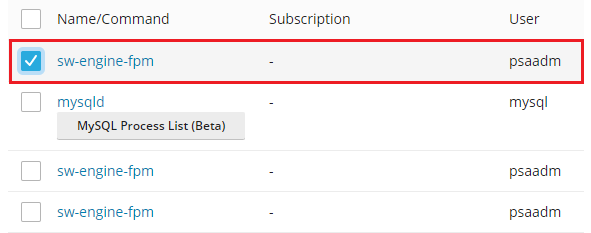
6. After ticking the box you have to click on the “Kill selected” button as shown in the image given below.
7. It will request confirmation from you. So choose “Kill.”

8. You will get a message that the process has been killed.

That’s it! Hope you liked our article. We know that any business cannot run without any issues, so our team is available for you 24×7 to assist you.
For affordable and reliable VPS hosting services, please visit our website and initiate a live chat.
