The following article explains how to secure SSH using WHM.
Restricting Access to SSH
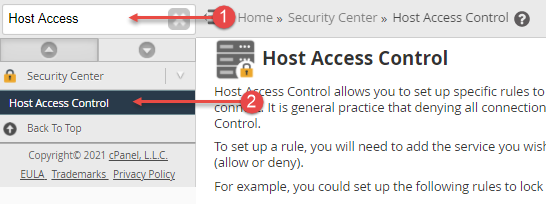
You can restrict access to just your own IP or a range of IPs using the “Host Access Control” feature within WHM. This is the single most effective way of preventing unauthorised access to your server, to do this:
Note: If your ISP does not provide a static IP it is still recommended you do this, most IPS provide long IP leases lasting weeks or months. It is recommended you simply update your rule as and when your IP changes. You can also add IP ranges, if you know what range your ISP assigns addresses from then you can also add this instead.
- From the side, menu scroll down to Security Centre (alternatively enter “host access” into the search bar)
- Click Host Access Control
From here you can add new rules, typically there will already be several rules pre-configured. It is important to note that rules are executed in order of sequence (top to bottom) so you should ensure that any allow rule is located above any deny rule.
Enabling SSH Keys and disabling password-only authentication
SSH keys allow you to authenticate using an encrypted key, this is an effective way of preventing brute force attacks as the attacker would need both a copy of your key and your password.
Generating a new Key
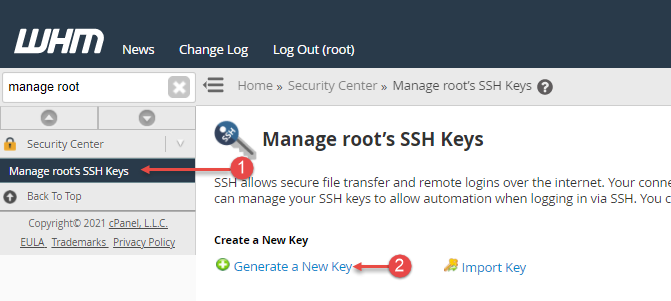
- From WHM Click Manage root’s SSH Keys
- Click Generate a New Key
- Enter the following details
- Key name (defaults to id_rsa): Give this a friendly name, so you can identify which server it belongs to I recommend using your server hostname
- Key Password: Enter a password for your key (This will be required when logging in)
- Key Type: Leave as RSA
- Key Size: We recommend leaving as 2048
- Click Generate Key
- Click Return to SSH Manager
- Click Manage Authorization

- Click Authorize
Connecting Using your Key
There are numerous SSH clients, feel free to use your favourite, in this example we will use Putty.
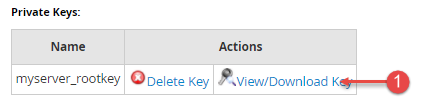
- From Private Keys click View/Download Key
- We now need to convert the key to Putty’s PPK format
- Enter the password you set when you created your key and click Convert

- Highlight the encryption key and copy the content to your clipboard
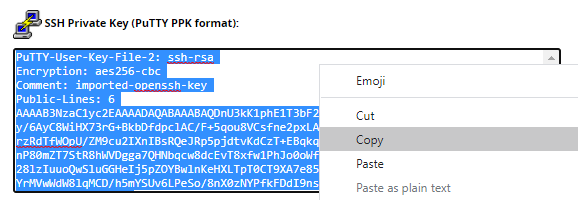
- Open a text editor on your local PC such as Notepad and paste the key in
- Save the resulting file with the extension .ppk
- Open Putty on your PC
- Enter your server IP and Port
- Go to Connection > Session > Auth
- Click Browse and select the .ppk file you saved in step 6
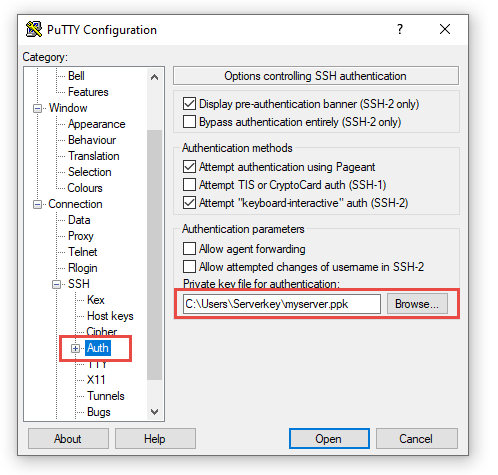
- Click Open to connect
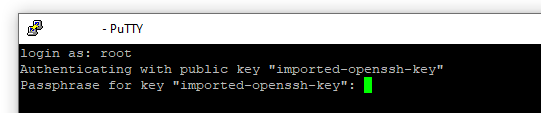
- If all has worked you will be prompted for your username, enter root, and hit enter
- Enter your key password (you set when you created your key) and hit enter to connect
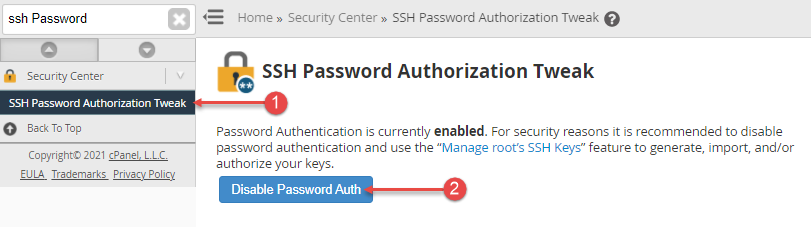
Disabling Password Authentication
Once you have tested your key and confirmed you can log in you can disable password-based authentication.
- Select SSH Password Authorization Tweak
- Click Disable Password Auth
By following these steps, you can securely configure SSH using WHM and enhance your server’s security. For more details, you can visit eukhost and initiate a live chat.