Improving your website’s speed is one of the most effective ways to boost user experience, SEO rankings, and conversion rates. In this guide, we will walk you through how to set up caching on your WordPress site using W3 Total Cache, one of the most trusted and widely used caching plugins.
Table of Contents:
Why Use Caching on WordPress?
Caching stores copies of your website’s static files (images, CSS, JS, and HTML versions of pages). When a visitor returns, their browser loads these cached elements instead of requesting them again from the server.
Benefits of caching:
- Faster Loading Times: Returning visitors experience much faster page loads.
- Improved User Experience: Reduced wait times keep users engaged and lower bounce rates.
- Better SEO Rankings: Google rewards fast websites with higher search visibility.
- Lower Server Load: Fewer requests to your hosting account, especially important on shared hosting.
Pro Tip: Even a 1-second improvement in load speed can boost conversions by up to 20%.
Choosing the Right Caching Plugin
There are many caching plugins in the WordPress repository. When selecting a plugin, make sure it:
- It is regularly updated and compatible with your WordPress version.
- Has good user reviews and a strong user base.
- Comes from a trusted developer.
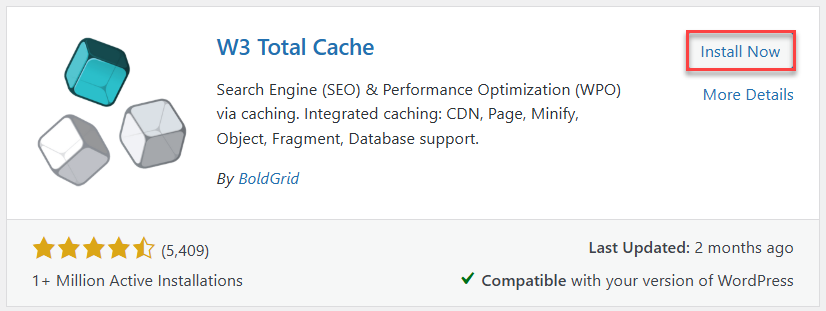
In this guide, we will consider ‘W3 Total Cache’, a popular plugin with over 1 million active installations and thousands of 5-star reviews.
Step-by-Step Setup for W3 Total Cache
Before you begin, back up your WordPress site to prevent accidental data loss.
- Install W3 Total Cache:
- Log in to your WordPress admin panel.
- Go to Plugins > Add New.
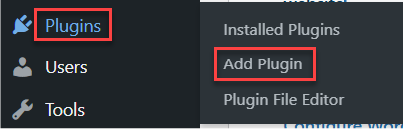
- In the search bar, type ‘Caching’.

- Find ‘W3 Total Cache’ and click ‘Install Now’.
- After installation, click Activate.

Tip: You can choose another caching plugin if you prefer, but the steps may vary slightly.
- Access W3 Total Cache Settings
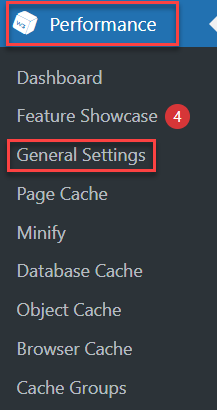
- After activation, a new menu item, Performance, appears on the dashboard.
- Navigate to Performance > General Settings.
- Enable Preview Mode:
- In the General section, enable ‘Preview Mode‘.

- Click ‘Save All Settings’.
The Preview mode lets you test caching settings before applying them live, ensuring your website continues working properly.
- In the General section, enable ‘Preview Mode‘.
- Enable Page Caching
- Scroll to the Page Caching section.
- Check the Enable box.
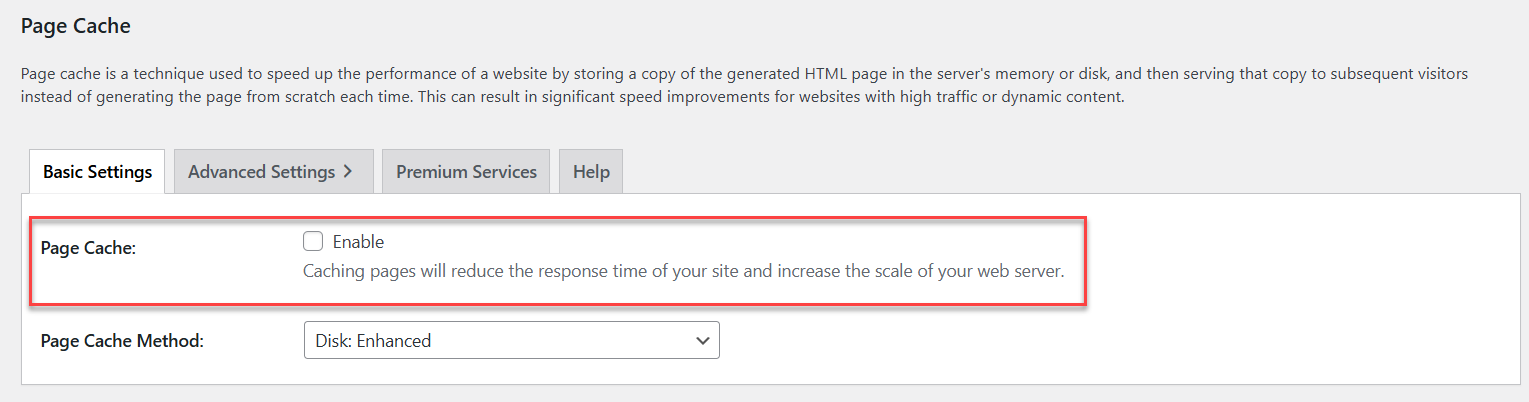
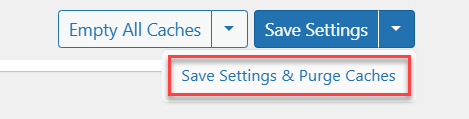
- Click Save Settings & Purge Cache.
- Scroll back to General > Preview, and verify your site works correctly.
- If issues appear, uncheck ‘Enable’ and purge cache to disable Page Caching.
Pro Tip: Always enable one caching type at a time, test it, and then move to the next.
-
Enable Browser Cache
-
Scroll to Browser Cache.
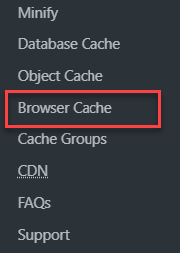
- Check Enable.
- Save your settings.

This tells visitors’ browsers to store static files such as images, CSS, and JavaScript, resulting in faster load times.
-
- Object Cache (Important for Shared Hosting)
Before enabling Object Cache, first confirm whether your hosting plan supports Redis or Memcached.-
Object Cache should only be enabled when Redis or Memcached is available and supported on the server.
-
If Redis or Memcached is not available, leave Object Cache disabled.

Do not enable Disk-based Object Caching. Disk-based object caching increases disk I/O usage and can negatively impact performance on shared hosting environments.
-
- Database Cache
Database Cache should only be enabled when all of the following conditions are met:-
Redis or Memcached is available and supported on the server.
-
The website is hosted on a VPS, dedicated server, or a shared hosting plan that explicitly includes Redis/Memcached support.
If Redis or Memcached is not available, Database Cache should remain disabled, as disk-based database caching may reduce performance on shared hosting.
-
- (Optional) Enable Minify
This feature compresses your CSS, JS, and HTML.-
Go to Performance > General Settings > Minify
-
Set Minify: Enable
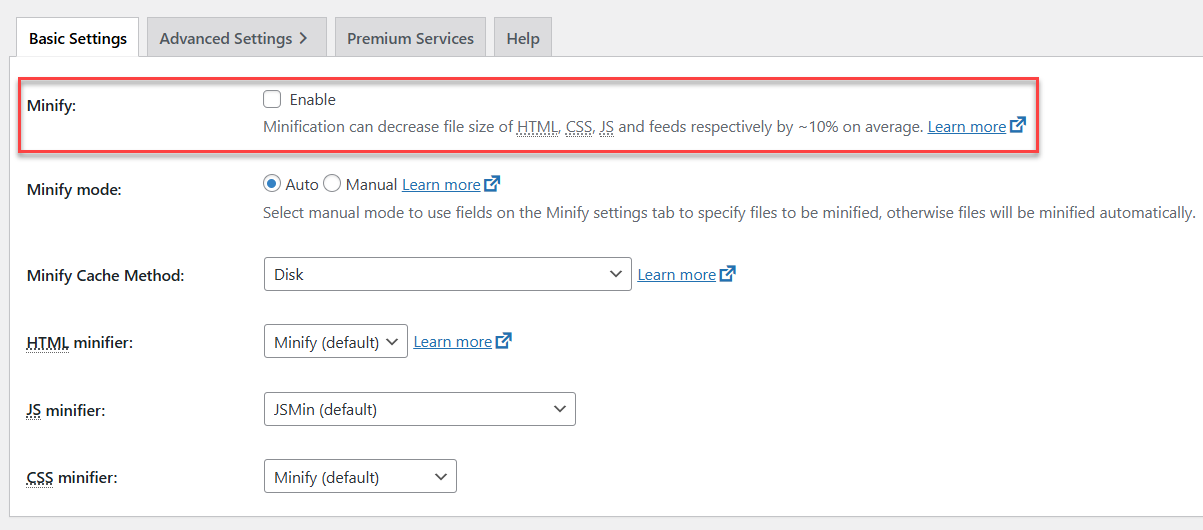
-
Minify Mode: Auto (recommended for beginners)

Note: Minify can break layouts on some themes. If issues appear, you can turn Minify OFF, Purge cache, and Reload the site.
-
- Deploy Changes (If Using Preview Mode)
If you enabled Preview Mode earlier and everything works correctly:-
Go to Performance > General Settings.
-
Under Preview Mode, click Deploy.

-
Save settings.
This makes all your tested settings live.
-
Additional Performance Tips
-
Always purge the cache after updating plugins, themes, or content.
-
Use a reliable performance testing tool to track speed improvements.
-
Consider image optimisation, a CDN, and minification for best results.
Caching with W3 Total Cache is a quick and effective way to boost WordPress speed and user experience. With the right settings, your site loads faster and performs better. If you need help, our team is always here to assist.
Want to manage your cache more efficiently? Check out How to Install, Use, and Optimise the Clear Cache Extension