In this tutorial, you will understand how to set the Zone TTL in cPanel. It lets you change the time to live (TTL) value in your server’s DNS zones.
The TTL is the time in seconds that a DNS server stores a record before requesting an update from the authoritative nameserver.
Let us follow the steps:
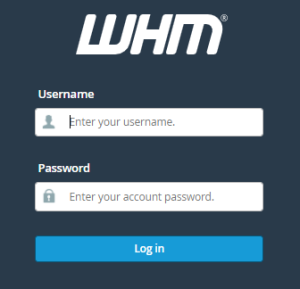
- Log in to WHM.
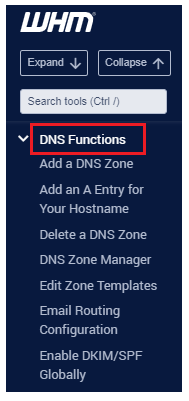
- Select the “DNS Functions” option from the left-hand side of the screen.
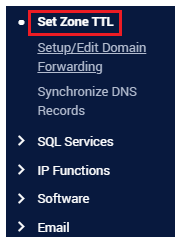
- Click on the “Set Zone TTL” sub-option.
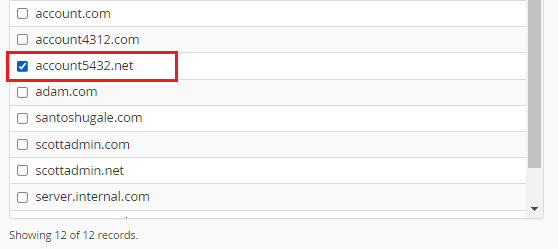
- Select the zone that you wish to set.
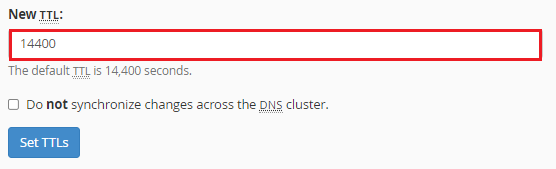
- Enter the new TTL. The default TTL is 14400.
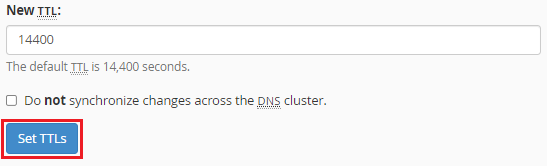
- Click on the “Set TTLs” button.
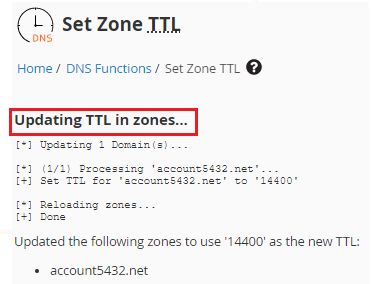
- You will get the message of updation.
This was the end of the discussion. For more updated details you can visit the eukhost site at any time. Our support experts are ready to help you out.