Follow the steps-
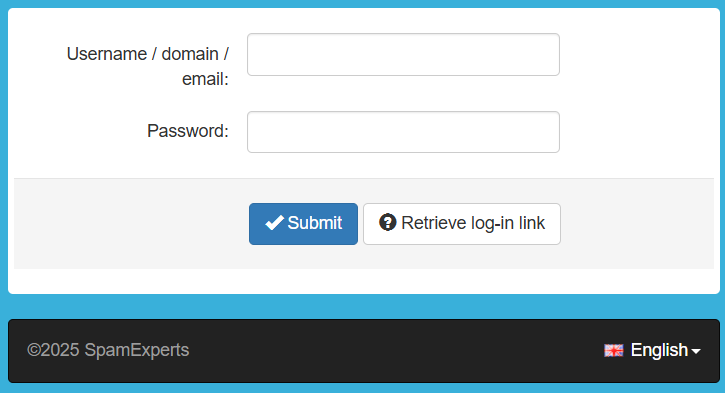
- Log in to the Spam Expert dashboard using the login details sent to the registered email address.
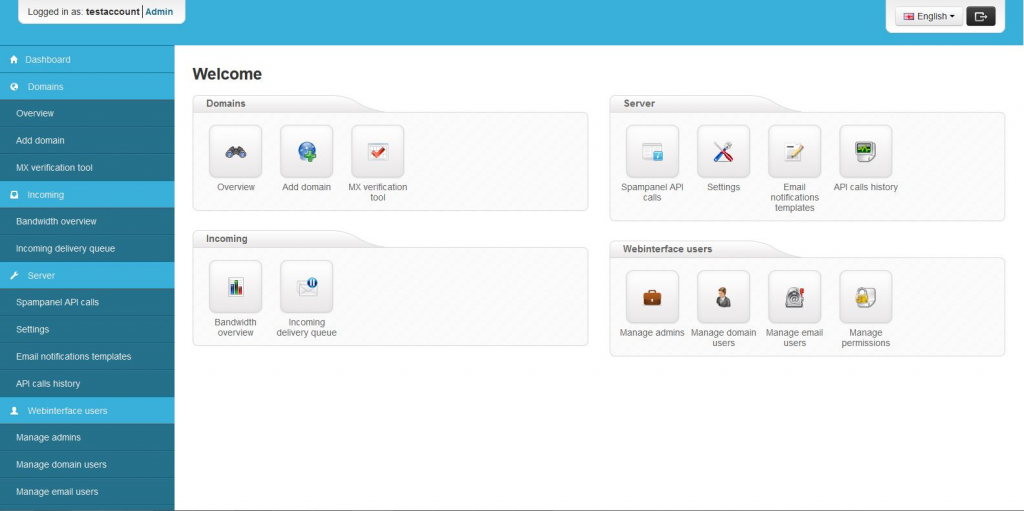
- Once you log in, you will get the dashboard with basic options.
- To add a domain, click “Add Domain” under the Domains section.
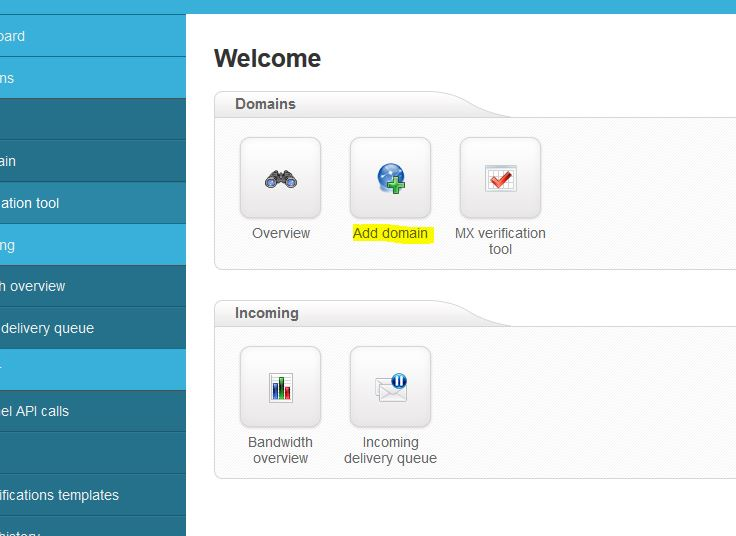
- Once you click on Add Domain, you will get the image below.

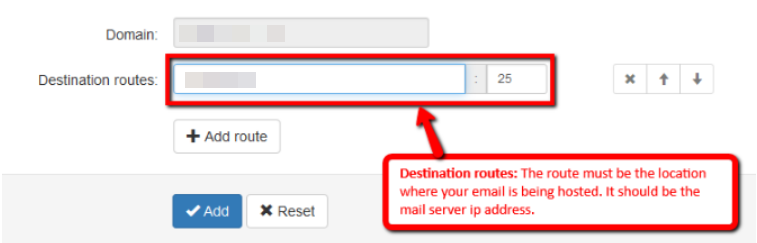
Add domain-- Domain: Add your domain name (eukdomain.com)
- Destination routes: The route must be the location where your email is being hosted. It should be the mail server IP address.
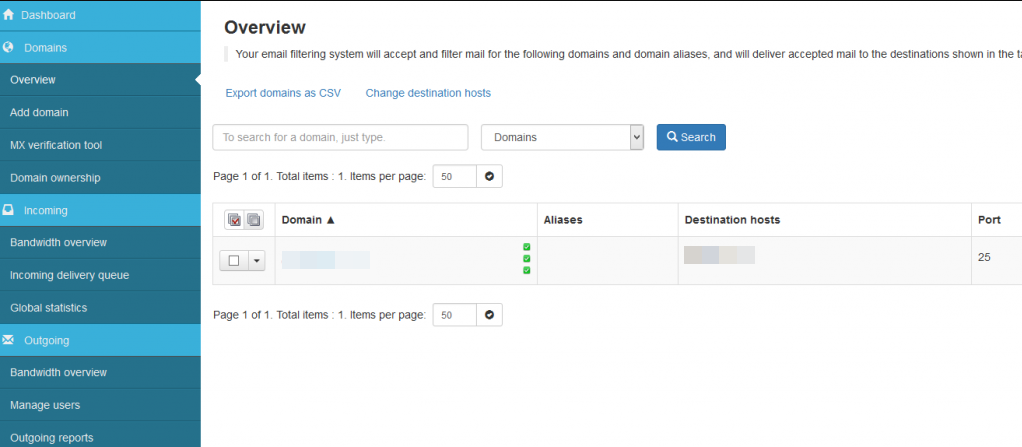
- Once you’ve added the domain, you’ll be redirected to the Overview section, which will list your active.
- You can see the same setting in the image below of WHM

- As well as you can see the zone file MX and setting it should show like the image below:

- You can view the domain’s MX status from https://checkwhois.com. You will see the Spamfilters MX has been applied. How to update the DNS records under cPanel-
Edit the DNS setting of the domain from the WHM- Home »DNS Functions »Edit DNS Zone | You will need to set the below settings-
MX Record :
0 firstmx.hyperslice.net.
10 fallbackmx.hyperslice.net.
Note: The Email Routing Option below should be selected with the ” Local Mail Exchanger ” because the Spamfilter works on the incoming emails, not for outgoing emails.
- You can see the same setting in the image below of WHM
- Managing a domain-
From the domain overview shown above, to manage a domain, you’ll click on the domain to be taken to the domain-level control panel-
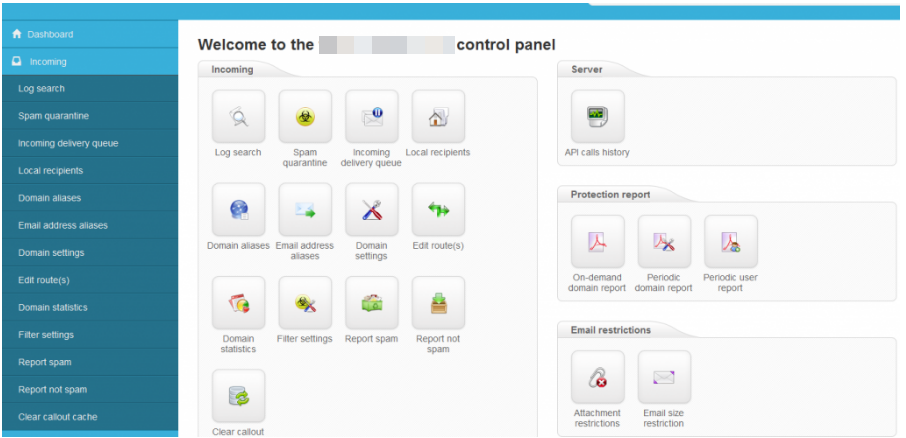
- From here, you have various options available at the domain level-
- Log searching
- Spam Quarantine
- Delivery Queue
- Filter Settings
- Statistics
- Reports
- Attachment settings / Size Restrictions
- Whitelisting & Blacklisting Options
- User Management
Note: As you already have SpamExperts incoming email filtering enabled, we do not recommend using SpamAssassin on the same server. If you are using SpamExperts to filter SPAM on your domain, you can disable SpamAssassin, as it may end up filtering emails.