Setting up your email on Windows 11 Mail allows you to manage all your accounts in one place, stay organised, and access your messages quickly. Whether you’re using Outlook, Gmail, or any other email service, Windows 11 Mail makes it easy to add and configure your accounts. This guide will walk you through the step-by-step process to get your email up and running seamlessly.
Why Follow This Guide?
This tutorial is designed to help both beginners and professionals configure their email accounts on Windows 11 Mail. The process is explained in simple language and confirmed with tested configurations, so you can be confident your setup will work.
Here are the instructions to add and set up email on Windows 11:
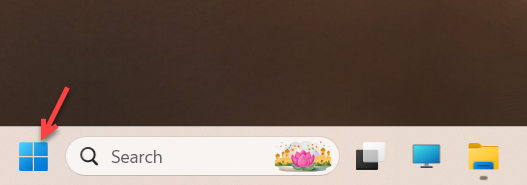
- Click the ‘Start’ button on Windows 11.
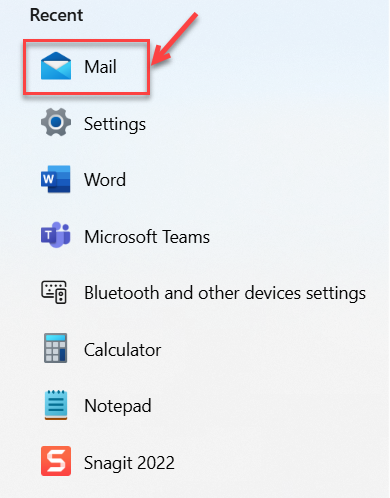
- Select ‘Mail’ from the apps list to launch the Windows 11 Mail application.
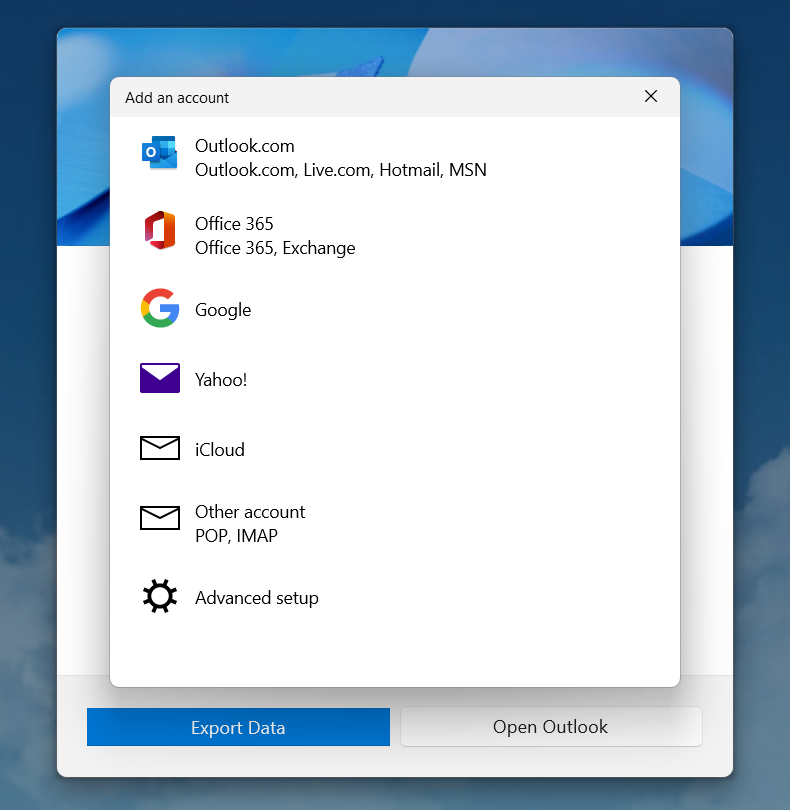
- Click ‘Add account’ to begin the setup process.
- You can select the account you wish to add to Windows 11 Mail.
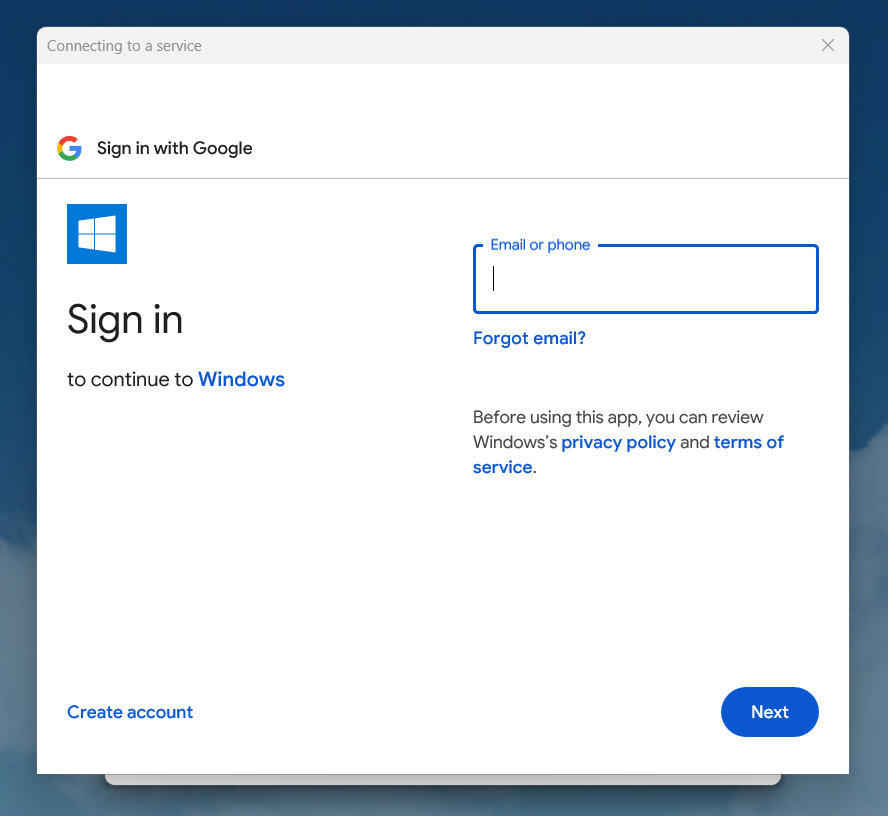
- Enter the credentials to log in.
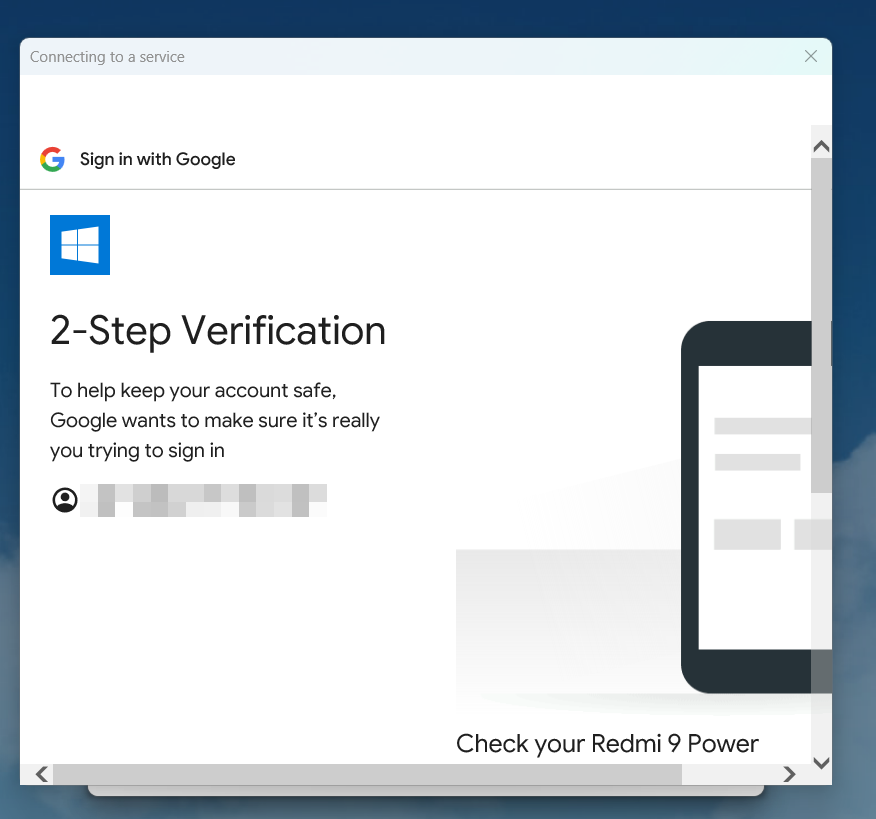
- Verify your Google sign-in using 2-Step Verification on your phone.
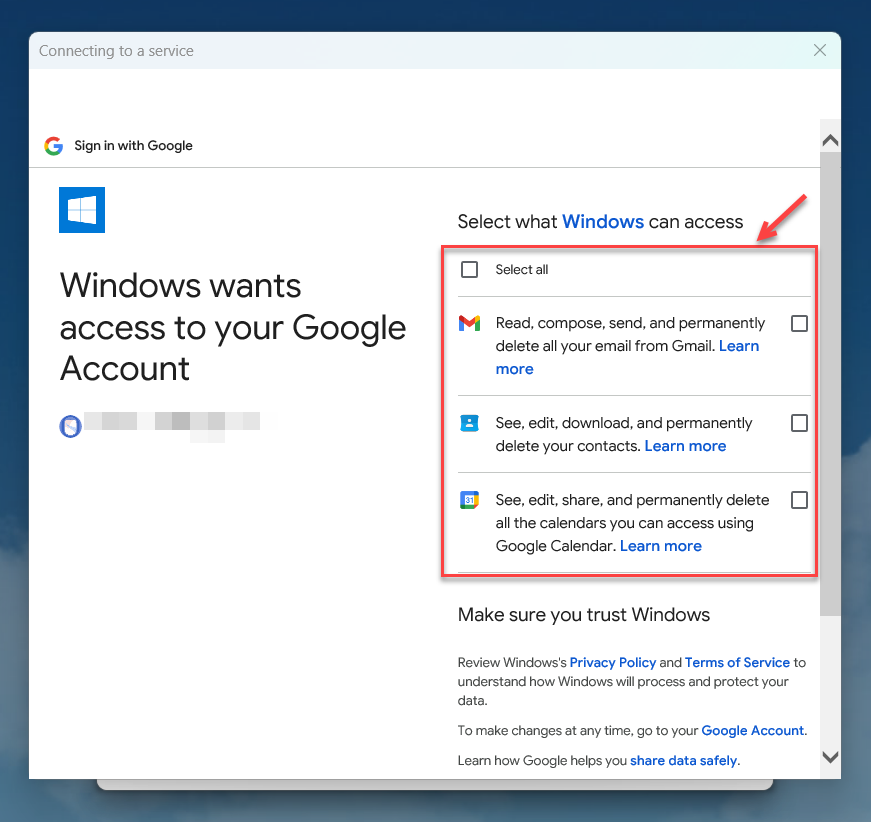
- Select the resources Windows is allowed to access, as shown below.
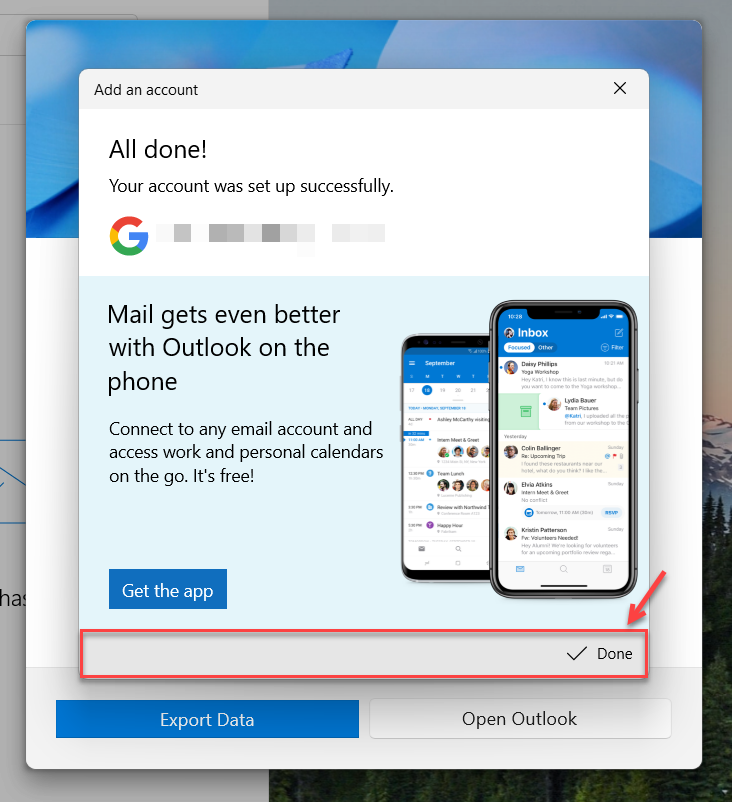
- You will receive a success message. Click ‘Done’.
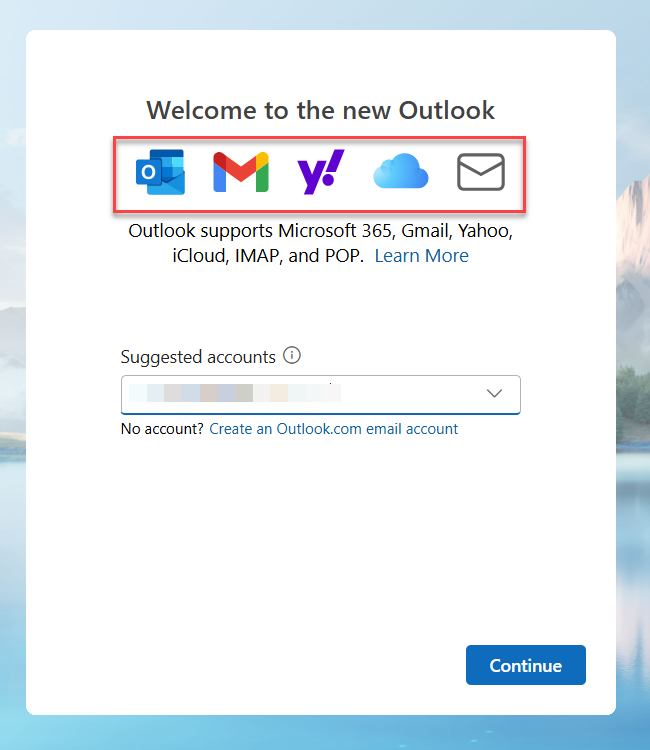
- You will enter the Outlook welcome screen, where you can add an email account. It displays supported services (Microsoft 365, Gmail, Yahoo, iCloud, IMAP, POP) and suggests an email address. You click Continue to start setting it up.
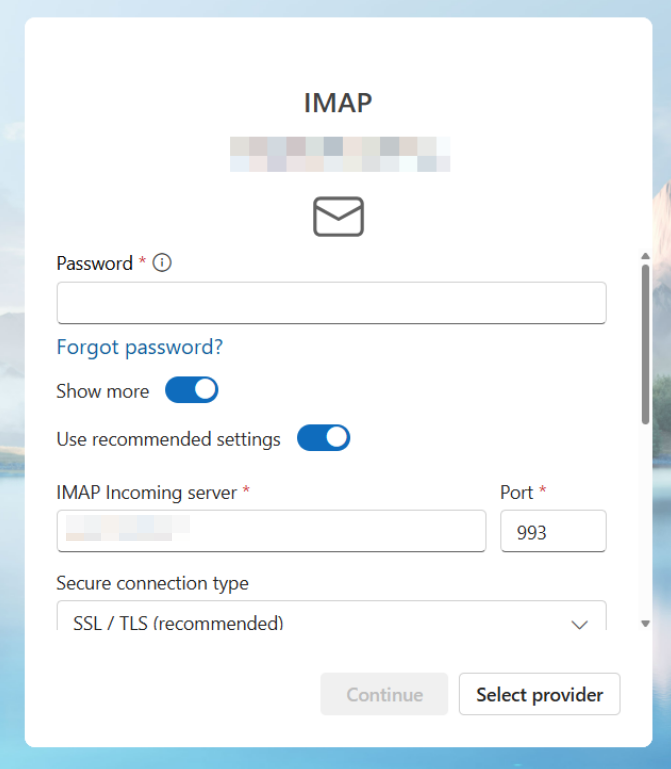
- Enter the password.
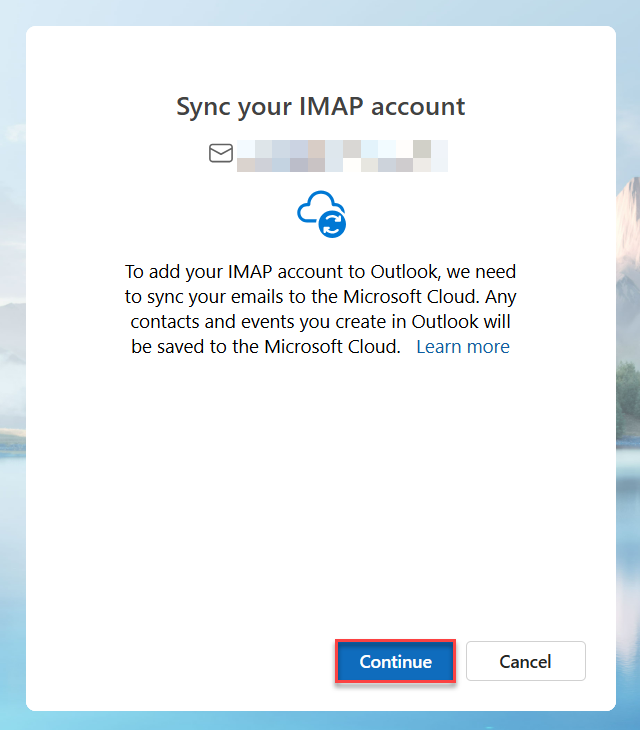
- Then it will ask you to ‘sync your IMAP account’ with Microsoft Cloud so Outlook can store emails, contacts, and events. You can either click ‘Continue’ to proceed or ‘Cancel’ to stop.
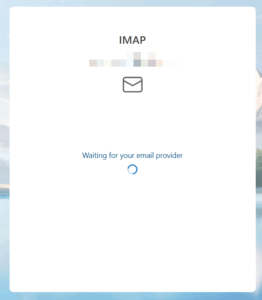
- After the “Waiting for your email provider” screen, Outlook will either confirm your IMAP account setup successfully or prompt you for additional login/server settings if automatic connection fails.
Expert Tip:
We recommend using IMAP instead of POP3 because IMAP syncs your emails across multiple devices, ensuring you don’t lose important messages when switching devices.
Troubleshooting:
- Incorrect username or password – Make sure your email credentials are correct.
- Cannot connect to server – Check that the incoming server (mail.34sp.com) and outgoing server (smtp.34sp.com) addresses are correct.
- SSL/TLS errors – Verify that all security options are enabled.
Conclusion:
By following the above-mentioned steps, you will have your email account fully configured in Windows 11 Mail. You can now send and receive emails seamlessly, stay organised, and manage multiple accounts from a single app.
If you encounter any issues, feel free to reach out to our technical experts.
Set up email on Windows 11? Learn How to Setup Email on Windows 10 Mail