The following article explains how to add user accounts in Plesk. This account is used to access Plesk and the procedures for which the hosting provider has granted permissions are available to you.
Follow the steps as discussed below to add user account in Plesk:
- Log in to Plesk.
- Select the “User” option from the side menu.
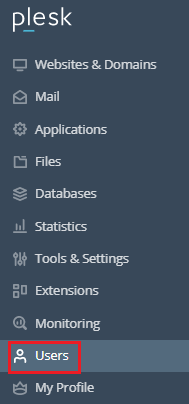
- You will enter a new page.
- Click on the “Create User Account” option.
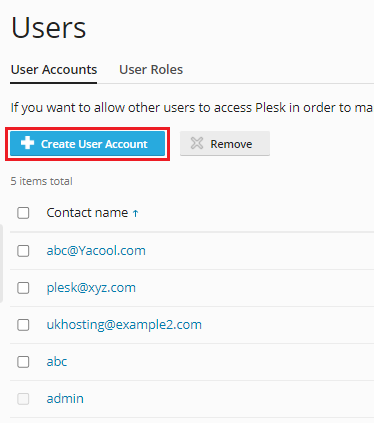
- Now, a form will appear asking for some “General Information”.
- Enter the “Contact Name”.

- Enter the “Email address”.

- Enter the ‘External Email Address.‘ This will allow you to reset your password should you lose access to the primary email address.

- Select the “User Role”.

- Select the “Access to Subscriptions”. Allow consumers to access just one subscription at a time. The “All” value gives them access to all of your hosting account’s subscribers.

- Now comes the “Plesk Preferences” details.
- Enter the “Username”.

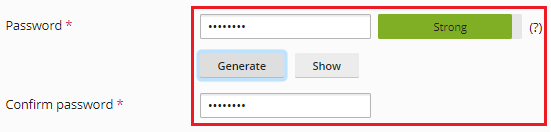
- Generate the password or type of your choice. Confirm it again.
- Select “Plesk language”.

- Tick in the “User is active” checkbox.
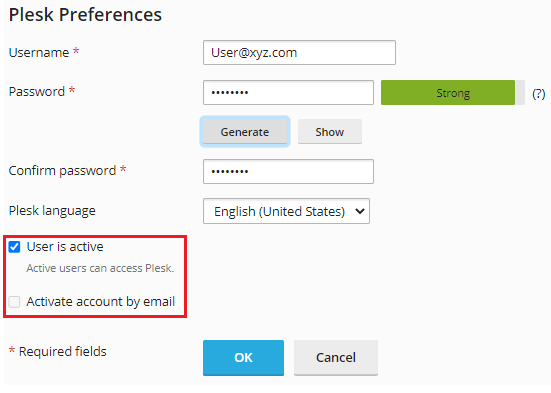
- Finally, click the ‘OK‘ button.

- You can see the account added to the list now.
This way, the user account will be created in Plesk. Our experts are always ready to help you out. You can contact them anytime. For more detail about eukhost web hosting plans, visit the website and initiate a live chat.