This article explains how to change the mail exchanger (MX) records using Plesk. An MX record specifies the mail server responsible for accepting email messages on behalf of a domain name. Domains which use more than one mail server can set their MX record priority to determine the order in which the mail servers should be used.
Note: If you have a shared hosting package you will need to ask our support team to modify MX record entries for your domain.
For other Plesk accounts, follow these instructions:
- Log in to your Plesk account.
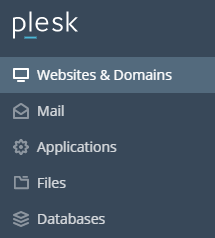
- Click on Websites & Domains in the left-hand panel.
- In the main screen, click on and expand the section for the domain whose MX record you wish to change.
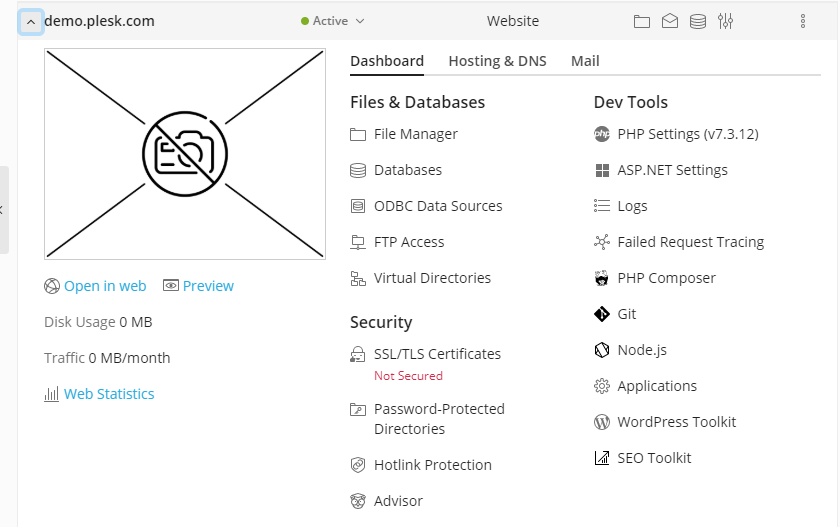
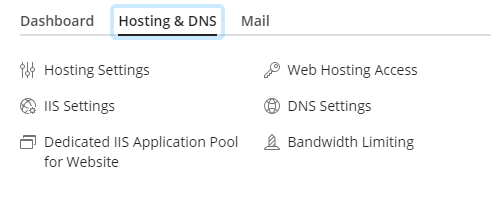
- Then click on the Hosting & DNS tab in the menu.
- Under Hosting & DNS, click on DNS Settings.
- Under DNS Settings you will see a list of your records. Click on the record you wish to change. The Edit the Resource Record screen will then open.
- On the Edit the Resource Record page, click on the Record Type dropdown box and select the MX option.
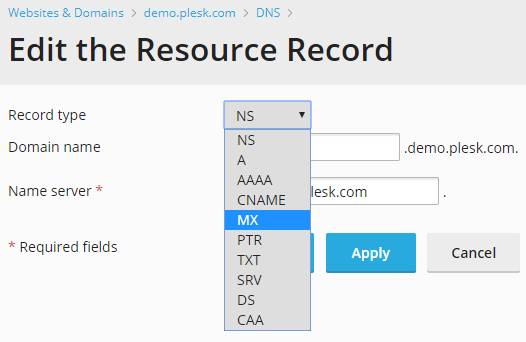
- A new set of fields will now appear. Enter the details of your mail server (e.g. mail.example.com) in the Name Server field.
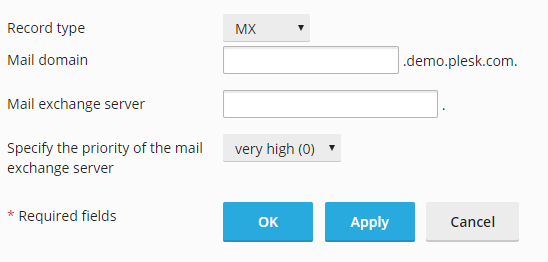
- Click on the dropdown box at the side of Specify the priority of the mail exchange server. Select the priority you wish. These range from 50 (lowest priority) to 0 (highest priority).
- Finally, click on OK to save your changes.
In this manner, you can change the MX record priority in Plesk. You are welcome to contact our support team anytime.