In this article, you will understand how to scan Domains using Imunify in Plesk. Imunify comes in three editions: free, premium, and shared hosting edition. It examines the content of websites and detects viruses in free mode. It can also clear up the discovered malware in paid mode.
To scan Domains using ImunifyAV, follow these steps:
- Log in to Plesk.
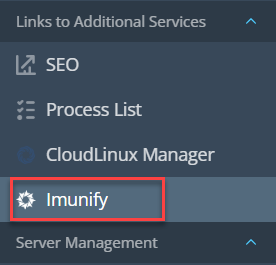
- Find the Imunify option under Links to Additional Services and select it.
- Click on Malware Scanner.

- Here you can select a specific Domain, or you can scan them all at a time.
- Click Scan all.

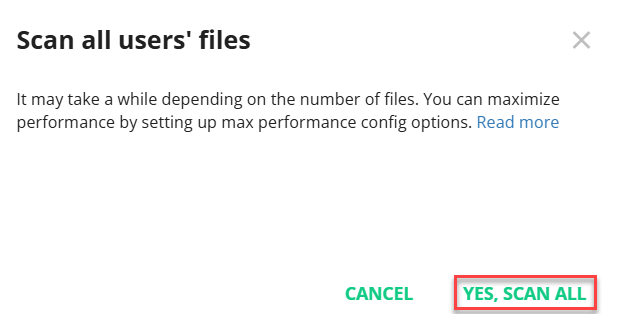
- You will be asked to confirm whether you want to scan all users’ files. Click YES, SCAN ALL.
- You will receive a success message as follows.

This way, you can scan domains using Imunify in Plesk.
Check our Knowledge Base section regularly for more articles like this. To check our affordable and reliable Windows Shared hosting plans, please visit our website and initiate a live chat.