In this article, we will cover the installation and configuration process for the ClamAV plugin within cPanel.
ClamAV, a widely used open-source antivirus scanner, enables cPanel users to conduct email scans and assess their home directories for potentially harmful files through this plugin.
Note: To install ClamAV, you’ll need root access to your VPS (Virtual Private Server) or dedicated server. Alternatively, you can reach out to our support team for assistance with installing the ClamAV antivirus plugin.
Follow the instructions below to understand how to set up a virus scanner in cPanel and conduct a site scan:
- Log into your WHM as the root user.
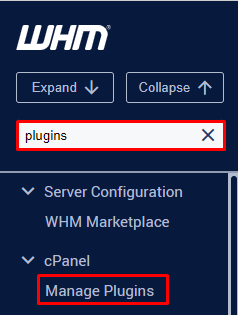
- In the upper-left search box, type “Plugins,” and subsequently, click on “Manage Plugins.”
- Select the “Install ClamAV for cPanel” button.
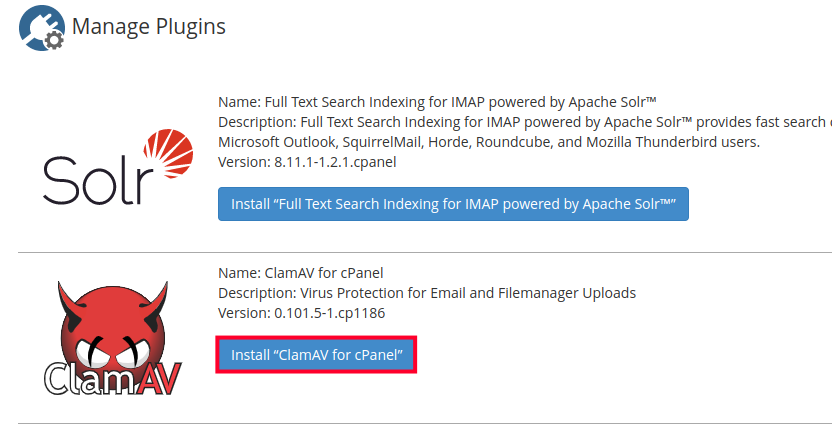
The installation procedure might require a substantial duration, possibly exceeding 10 minutes. Therefore, please exercise patience and refrain from closing the web browser until the process concludes. Upon completion, a message indicating the successful installation of “ClamAV for cPanel” will appear at the bottom of the screen. - Log out of WHM, and Log back in as the root user.
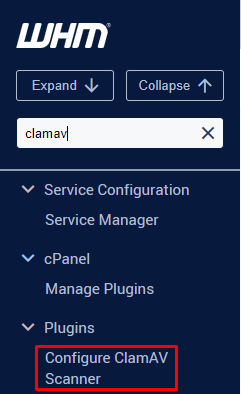
- Type “clamAV” into the search box located in the upper-left corner, and click on “Configure ClamAV Scanner.”
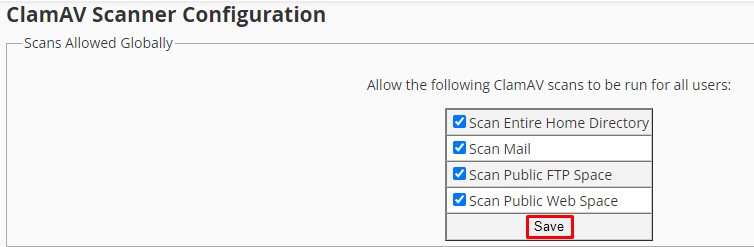
- At this point, you can define the global scan permissions as per your preferences. If you wish to enable all cPanel users to scan their content, you can mark the checkboxes next to “Scan Entire Home Directory,” “Scan Mail,” “Scan Public FTP Space,” and “Scan Public Web Space,” then proceed to click “Save.”
Thus, you can scan websites for viruses using ClamAV.
However, you can also Scan your email and website for viruses without installing ClamAV.