In this guide, we have explained how to use an external mail server for a domain hosted on a cPanel server. Let’s first define local and remote mail servers before continuing with the process.
Local mail server
A local mail server is a program that receives incoming emails from nearby users and distant senders and forwards outgoing messages for delivery. It is also referred to as a mail transfer agent, or MTA; mail transport agent; mail router; or internet mailer.
Remote mail server
Remote mail servers deliver all mail sent to this domain to the mail service identified by the domain’s MX record using a remote mail exchanger. Deliver the emails to the mailbox on Google’s servers rather than your local mailbox, for instance, if you have Google set up as your mail service.
Note:
- If a domain’s nameserver is set to an external DNS server, get in touch with the DNS provider’s administrator and request that they change the MX record to point to a mail server.
- If a domain uses a local mail server, an entry is added to the file below.
cat /etc/localdomains - If a domain makes use of an external email server like O365 or Google, the entry of the domain gets added to the file.
cat /etc/remotedomains
Follow the steps to use an external mail server:
- Log in to WHM.
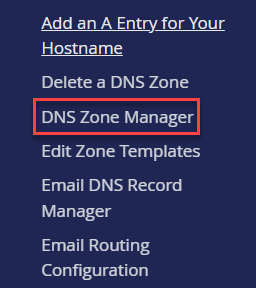
- Find the “DNS Function” option from the left-hand side of the screen and select the “DNS Zone Manager” sub-option under it.
- You will enter a new page where you can select the domain. Select the domain and click on the “Manage” button.
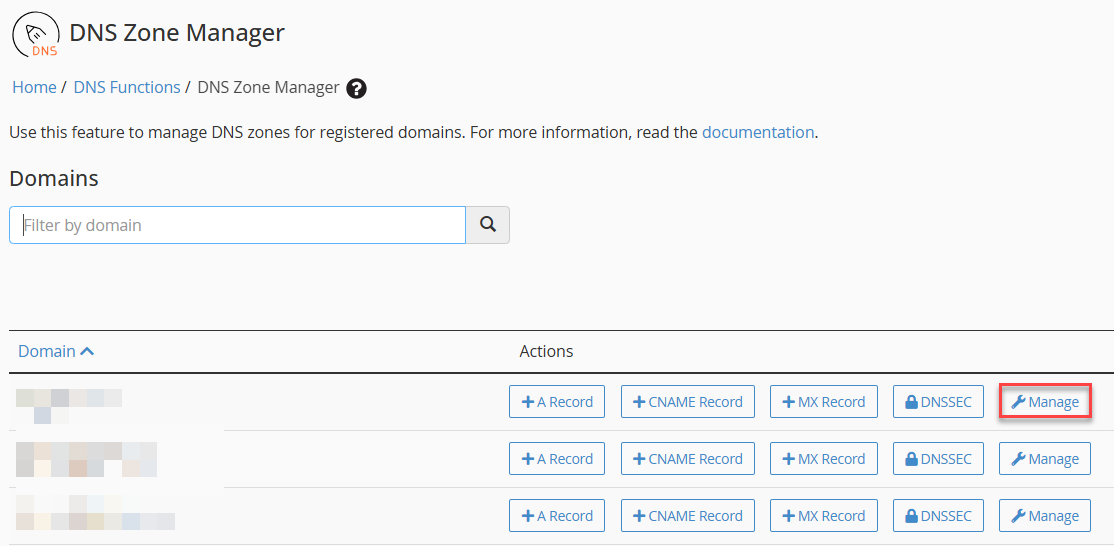
- You will enter the “Zone records” for that domain.
- Click on the “Email Routing Configuration” option next to the “Actions” tab.
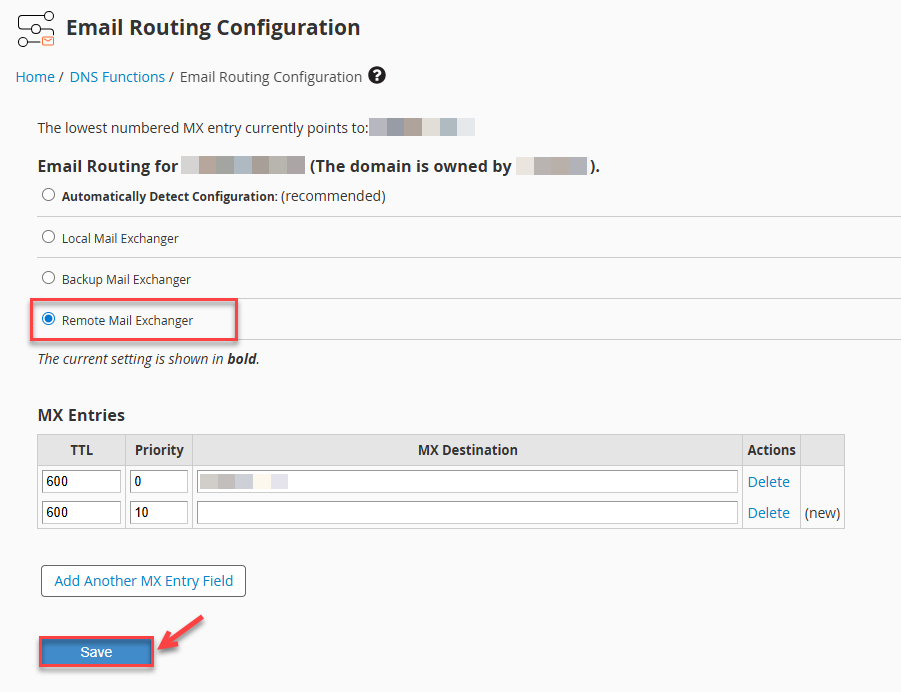
- You will enter a page where you will find email routing options. Select the “Remote Mail Exchanger” option.
- You can also directly add the MX entries from the interface given below and then click on the “Save” button.
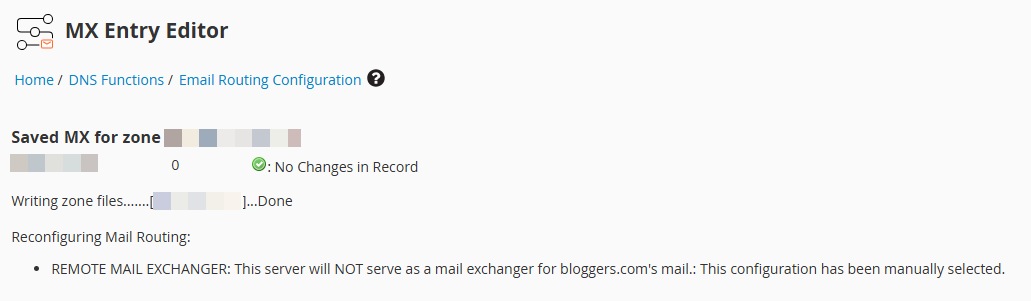
- You will get the final message as shown below.
This ensures that email delivery issues are avoided when a domain hosted on your cPanel server uses an external email service for sending and receiving emails.
We hope this article was helpful. If you encounter any issues while performing this process, please contact our support team, who will be happy to assist you.
Need help with email setup? Learn How to Setup email on Windows 10 Mail