This guide will walk you through the process of using WHM’s server Profile feature to customise the cPanel Server. Server profiles let you set up servers to perform specific tasks or functions.
Let us follow the steps:
- Log into WHM.
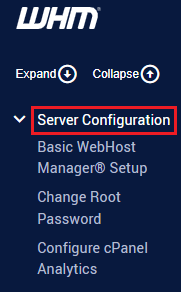
- Select the “Server Configuration” option from the left-hand side of the screen.
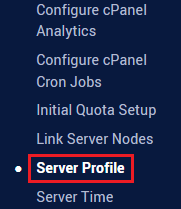
- Click on the “Server Profile” sub-option.
- You will enter a new interface.
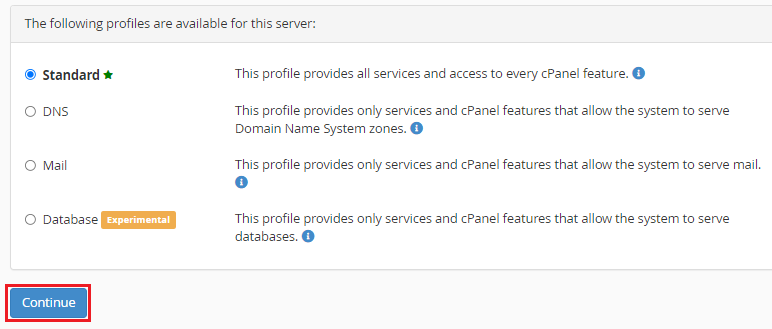
- Select the “Profile”. You will find four options:
- Standard
- DNS
- Database
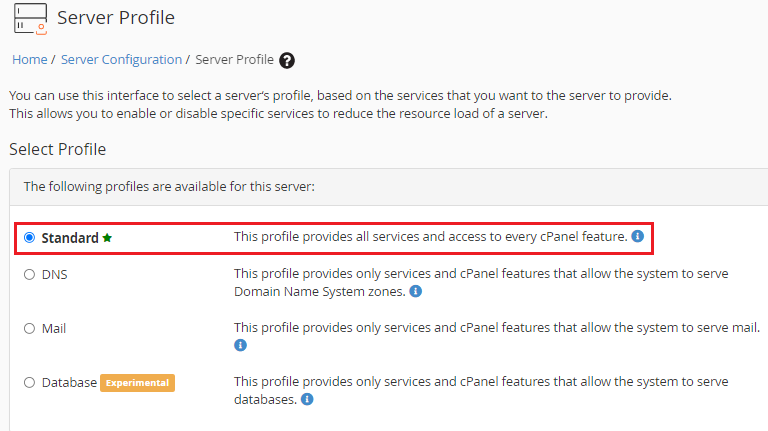
- Select the “Standard” profile and click on the “Continue” option.
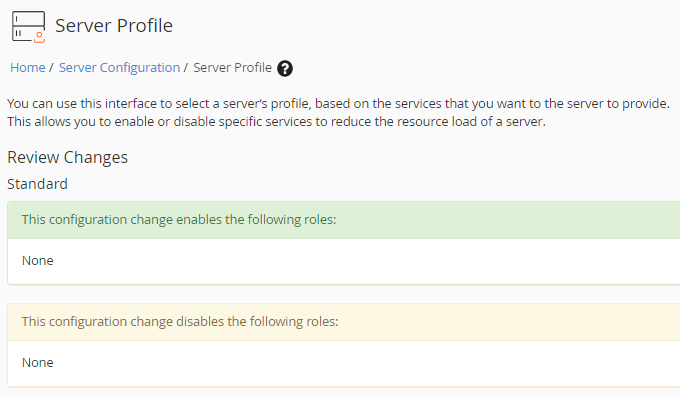
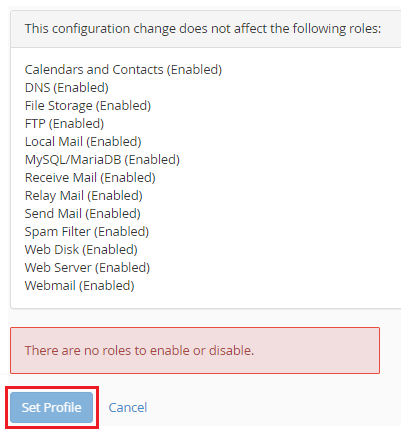
- Check the changes and functions that the profile provides, then click on the “Set Profile” option.
In this manner, WHM will customize the cPanel server using Server Profile. For further assistance contact our support staff. They will assist you with the queries you have. Also don’t miss out on our latest Web hosting plans.