cPanel File Manager is a hosting account management tool that enables you to manage your files directly within cPanel without having to use FTP. It enables you to create, upload, modify or remove files.
Accessing File Manager:
- Log in to your cPanel account.
- Scroll to the Files section and click on File Manager.

- This will open the File Manager where you will be shown a hierarchical list of your main folders. It is very similar to the file manager used in Windows.

- When you first use File Manager, you should click on the Settings icon (top right corner) to specify its default settings.

This allows you to select the directory which you want File Manager to open by default. It also lets you enable the Show Hidden Files (dotfiles) option which will display the files whose name start with a dot (.), such as .htaccess. - Click the Save button when you have made any changes.

- The tools you need to manage your files are displayed in the ribbon at the top of the File Manager page.

These enable you to undertake the following actions:
> Add a new file
> Add a new folder
> Copy a file or folder
> Move a file or folder
> Upload a file or folder
> Delete a file or folder
> Restore a file or folder
> Rename a file or folder
> Edit a file
> Edit HTML
> Change permissions for a file or folder
> Extract compressed files or folders
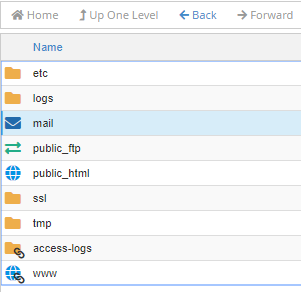
> Compress files or folder - If you wish to make any changes to an existing file or folder, you will need to locate it in File Manager and select it, so it is highlighted, like the ‘mail’ option below.
- Once this is done, you can use the relevant tool to carry out your desired actions.
In this way, you can access file manager in cPanel. For further assistance, get in touch with our support team.
How to Create a New Folder in cPanel File Manager
How to create a new .htaccess file using cPanel’s file manager