The most reliable and secure server still running in hosting industry is named as dedicated servers. Dedicated servers are designed with high speed processor, Large database storage capacity RAM with features and functionality to overcome the drawbacks of other kind of hosting servers. Dedicated servers are stand alone servers which are been leased by an individual from a data center or a hosting provider with administrative control over every single aspect of hosting resources. It is really easy and safe to host any website or web application on dedicated servers according to users requirements and WordPress is been the choice of many webmasters.
WordPress is a simple open sources software designed and developed in PHP scripting language with features and functionality to customize the blog. It is also easy to install wordpress blog on shared hosting account as well it is no different than dedicated server. Most servers will include a web host control panel with Fantastico scripts like CPanel that allow a one-button installation of WordPress. Some control panels do not, which means WordPress must be manually.
To install WordPress you have to make a successful login into your control panel and go into phpMyAdmin, a MySQL interface. After a login in phpMyAdmin interface check if there any pre-made WordPress database. If not then please click “Create” in the Create New Database field and name the database as WordPress or according to your needs.
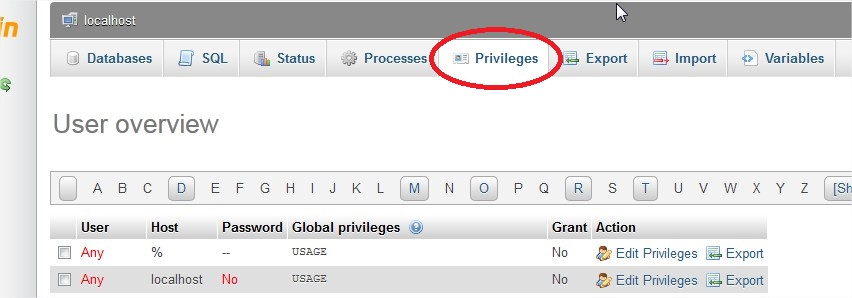
- Click on “Home” at left corner of the windows. Click on “Privileges.” and check.

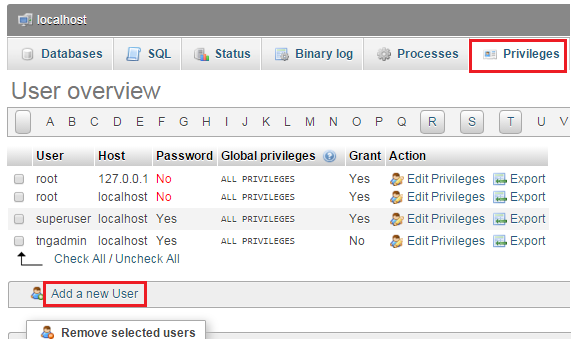
- If there any WordPress user in the drop-down menu if not then click “Add New User” and name it WordPress. Enter a password using the text field and leave all options under default.

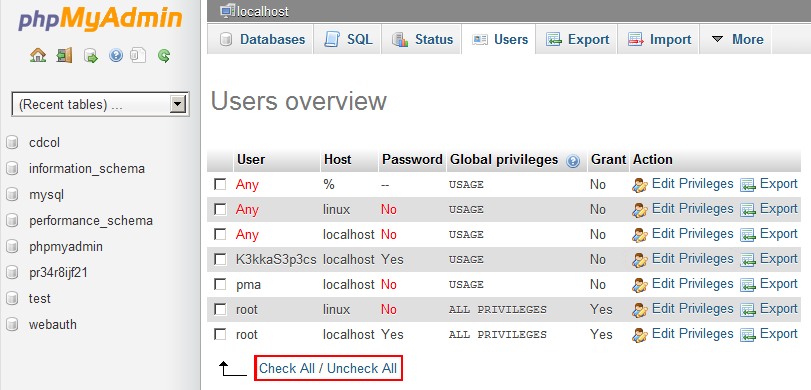
- Set all the required permissions and get back to the “Privileges” screen and click on “Check Privileges” for the WordPress user. Please Check All to give user all needed permissions and enter Go.

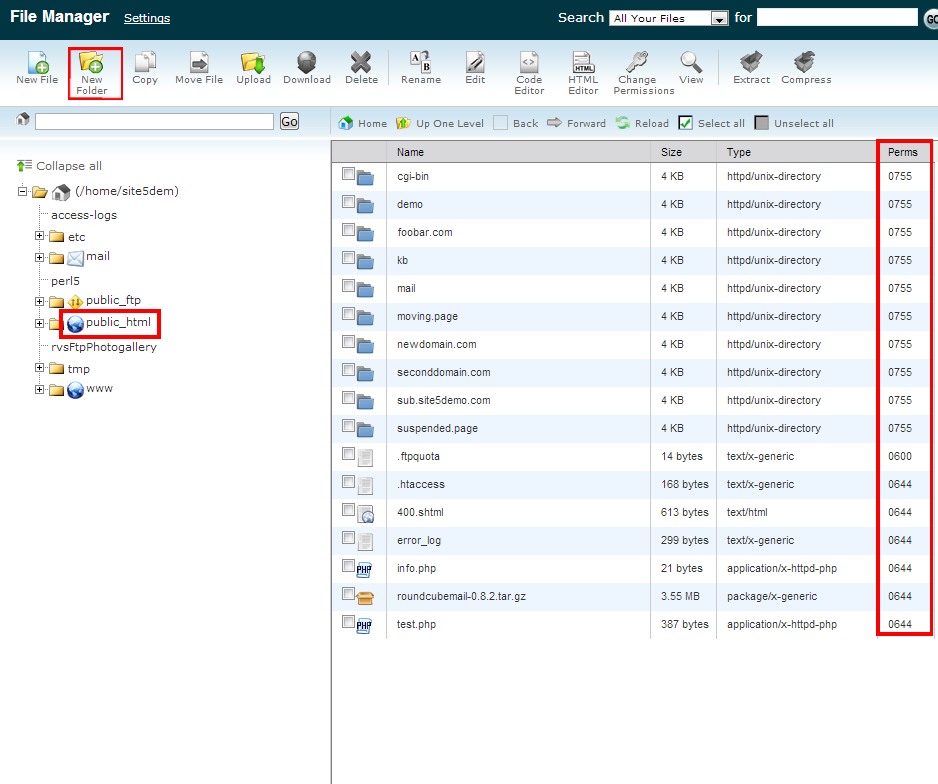
- Now return to your web host control panel and log into your file manager. Go to the “public html” section and create a folder called WordPress. Please check if the file has 777 permission set by checking the file permission.

- Now the changes have been made you just have to use your FTP client to upload the contents of the WordPress directory in the public_html.
- Now to install WordPress open your web browser and enter your domain name in the URL with the path set at wp-admin/install.php. For example If your domain name is www.abc.com you would enter http://www.abc.com/wp-admin/install.php
- Please use name of the database and Username and enter the password you created earlier as the password on installation screen.
- To complete the successful installation please input the domain name of your website and create a Username and password for entering the WordPress administration area.
